
Learn how to assess a furniture scratch, test a repair color, and use a wood touch-up kit in thin, controlled steps.
Identify the finish before touching the scratch
A scratch in clear lacquer, an oil-finished tabletop, a painted surface, and bare wood can look similar but need different treatment. Start by cleaning the area with a soft, dry cloth and looking at the scratch in daylight. A surface mark may sit in the finish; a deeper line can expose lighter wood beneath it.
Do not begin by sanding the whole area or applying a dark marker. Check the furniture maker’s care advice if available, especially for antique, valuable, or veneer furniture. If the surface is lifting, swollen, or cracked, stop and address the structural issue before trying a cosmetic touch-up.
Test a color in a hidden place
Wood color changes with grain, lighting, and finish. Select a marker or filler shade that is close to the surrounding area, then test it on an inconspicuous edge or spare piece with a similar finish. Allow the test to dry as directed and compare it in the same light as the scratch.
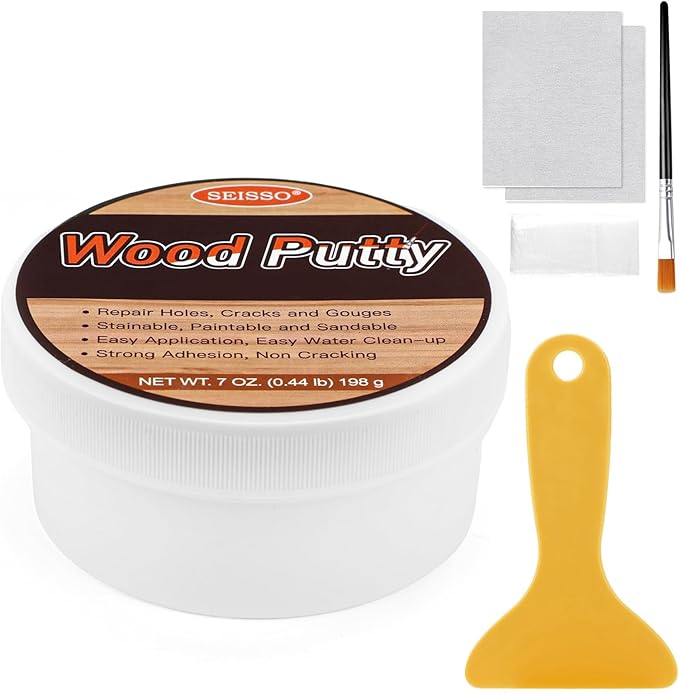
The SEISSO 39-piece kit listing shows an assortment of markers and filler materials. Check the current listing and package instructions to identify which component is intended for your surface and scratch type. A multi-color set gives options; it does not mean every color should be layered onto one mark.
Clean the area and work with the grain
Remove dust and loose debris without soaking the furniture. Keep cleaners away unless the finish instructions allow them. Apply a suitable touch-up product in a small amount, following its label, and move with the direction of the grain when the product is designed for that use.
For a shallow scratch, start with one light pass. Let it settle or dry as instructed before deciding whether another application is needed. Adding too much at once can leave a darker stripe or raised spot that is harder to blend than the original mark.
Use filler only when the mark has depth
A scratch that catches a fingernail or has a small open groove may need a filler rather than color alone. Confirm that the filler is compatible with the wood and finish, then press only enough material into the damaged line to fill it. Keep it off the surrounding surface as much as possible.
Use the supplied tool only in the way the kit directions specify. Allow the filler to dry or cure for the stated time. If the product calls for smoothing, use the recommended method gently; aggressive sanding can widen the repair or remove the surrounding finish.
Blend, inspect, and let the repair settle
After the touch-up has dried, inspect it from more than one angle. Grain lines and sheen can make a repair look different when light moves across the tabletop. If the color is too dark, do not add more product over it; follow the label’s correction advice or pause and seek a furniture-care professional.
Wait until the repair is fully dry before placing objects on it or cleaning the surface. Keep the area away from heat and moisture during that time. Save the tested shade and product component in your notes so small future touch-ups can be matched more consistently.
Prevent repeat scratches in daily use
Place felt or other suitable protectors beneath objects that move across the surface, and lift décor rather than dragging it. Use coasters where the furniture maker recommends them, and keep grit from collecting beneath items. A routine dusting with a soft cloth reduces the small particles that can act like abrasives.
A repair kit is best for small cosmetic marks within the product’s stated use. Large gouges, loose veneer, water damage, or a valuable finish call for specialist advice. Check the live SEISSO product page and the instructions that arrive with the kit before using any material.
Frequently Asked Questions
Can a wood marker fix every scratch?
No. A marker can add color to some shallow marks, but it will not fill a deep groove or repair lifting veneer. Match the repair method to the damage and product directions.
Should I sand before using a touch-up kit?
Only if the product instructions and furniture finish allow it. Sanding can remove the surrounding finish, so test carefully and avoid sanding valuable or veneered furniture without expert guidance.
Why does the repair look darker after drying?
The wood, finish, and applied amount all affect the final color. Test in a hidden area first and use a small amount at a time.
Product details: SEISSO Wood Furniture Repair Kit 39 Sets-12 Colors Wood Fillers with Fillers & Markers