
Learn what affects spackle drying time, how to check a coat before sanding, and how to plan small wall repairs with the product instructions in mind.
Start with the label and the condition of the wall
There is no single drying time that fits every repair. Product formulation, the depth and width of the fill, the surface underneath, room temperature, humidity, and airflow can all change how quickly a coat is ready for its next step. Treat the directions on the exact SEISSO package as the controlling source, and use any time range there as a guide for the conditions it describes.
Before applying anything, remove loose material and dust using the method recommended on the product label. A clean, stable surface helps the repair compound contact the wall as intended. Protect the floor, keep the tub or paste closed between uses, and prepare only the amount needed for the repair so the material does not dry out while you work.
Why a deep fill takes longer than a thin skim
A shallow scratch or pinhole contains less material than a larger anchor hole or dent. When a repair is deeper, the surface can appear dry while material underneath remains soft. Applying another layer too early may trap moisture or make sanding uneven. Follow the package instructions about fill depth and layering, and allow the surface to reach the stated condition before moving on.
For a deeper defect, it is usually more manageable to work in the number of coats the product specifies instead of forcing a thick mound into the opening. Keep each pass controlled with the supplied scraper, remove excess from the surrounding wall, and note when each coat was applied. If the label sets a maximum depth per pass, stay within it even when a repair seems small.
Check readiness before sanding or repainting
Use the product label’s test for readiness rather than judging by the clock alone. Look for an even appearance and a firm surface, then make only the gentle check the instructions permit. Do not press hard into a spot that still feels soft, and do not sand damp material. If the patch is cool, darker than the surrounding area, or visibly changing, give it more time and reassess.
Sanding and paint instructions vary by material and finish. Use the recommended abrasive and dust-control method, and avoid removing so much compound that the repair becomes hollow. After sanding, remove dust as directed before priming or painting. Test the finish in an inconspicuous area when the wall texture or paint sheen is difficult to match.
Adjust the room, not the manufacturer’s directions
A comfortable, ventilated room can help a repair dry more consistently, but intense heat or a direct fan can dry the outer layer unevenly. Do not use a heater, hair dryer, or other shortcut unless the product maker expressly allows it. Keep the work area within the temperature range on the packaging and avoid closing the room up when the instructions call for ventilation.
High humidity, a cold exterior wall, or limited air movement may make the wait longer. If the room conditions are unusual, plan extra time instead of promising that a surface will be ready by a fixed hour. This is especially useful when a repair sits behind furniture or in a bathroom or kitchen where the wall may be exposed to moisture.
Plan a clean, small repair with the right kit
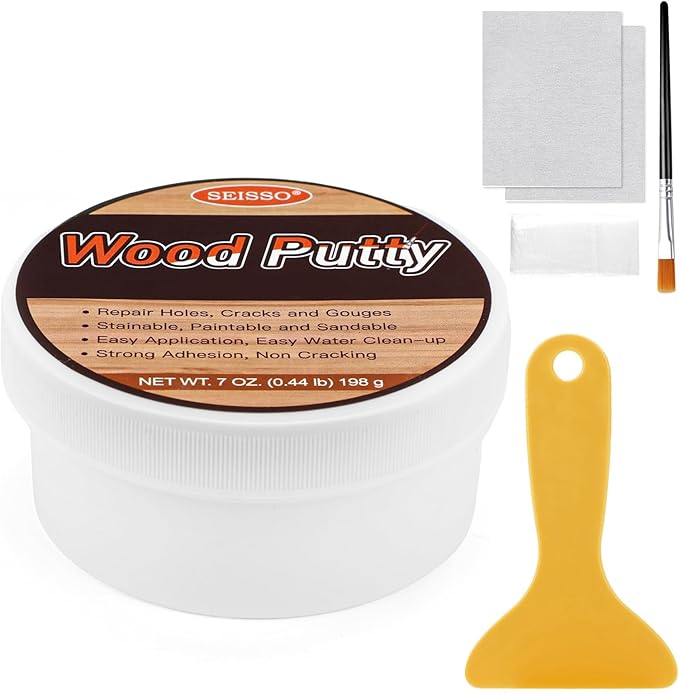
The SEISSO Grey Wall Repair Kit listing describes two 500 g packs with a scraper and nozzle. Check the current product page and package for included parts, surface compatibility, application limits, and storage directions before starting. Choose a kit based on the repair type and the instructions supplied, rather than assuming every wall compound works on every substrate.
Set aside time for application, drying, surface preparation, and the final finish. If the wall damage is large, continues to spread, or may involve moisture or structural movement, pause and identify the cause before covering it. For an ordinary small repair, following the label and checking the material between steps gives a more reliable result than trying to rush the process.
See current product details: SEISSO Grey Wall Repair Kit – 2 Pack 500g Spackle with Scraper & Nozzle