
A practical guide to preparing, filling, sanding, and finishing small drywall anchor holes with careful product-label checks.
Remove the anchor without enlarging the opening
Start by taking out the screw and anchor using a method suited to the anchor type. If it resists, stop and identify how it is fixed rather than levering hard against the paper face of the drywall. A torn or widened opening needs a different repair than a clean, small hole.
Brush away loose dust and paper fragments and check the surrounding wall for softness, moisture, or cracking. Protect the floor and keep the repair area dry. If the damage is large or the wall is damp, address the cause before covering it.
Prepare the surface and kit
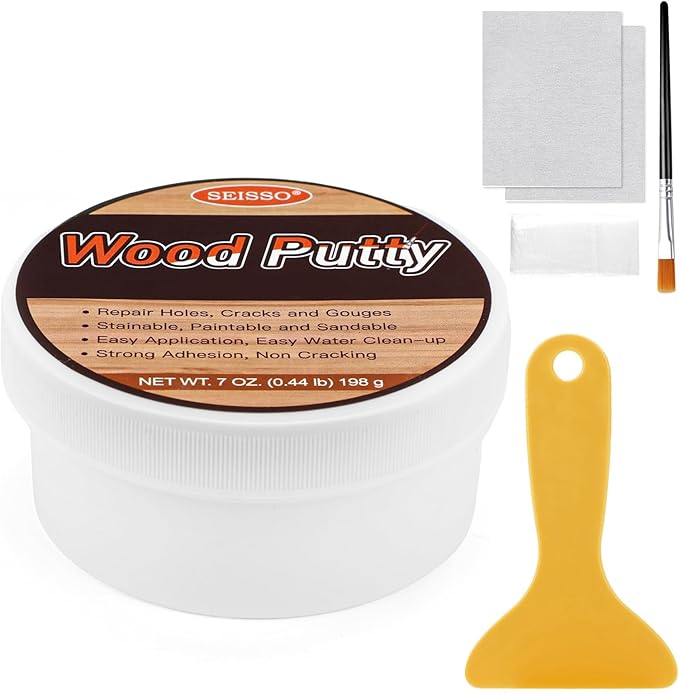
Read the instructions on the exact SEISSO kit before use. The product listing identifies repair paste, patches, a scraper, and sandpaper; confirm the package contents and surface directions on arrival. Do not assume that every hole needs a patch: follow the kit directions for the opening size and condition.
Lay out the parts you will use and keep the paste closed until you are ready. Remove only material that is already loose, and avoid cutting sound drywall paper. A stable, clean edge gives the repair material a better surface to follow.
Fill in controlled layers
Apply the paste with the supplied tool in the way the product directions describe. Work it into the hole without leaving a thick mound on the wall. For a deeper or damaged opening, use the recommended patch and layering process instead of forcing one heavy application into the cavity.
Scrape excess from the surrounding area while the material is workable, if the instructions allow. A thin, even edge is easier to blend later. Give each layer the drying time stated on the package and keep notes if the repair needs more than one pass.
Sand and check before finishing
Do not sand until the repair is dry and firm according to the label. Use the supplied abrasive gently and keep it level with the wall; aggressive sanding can expose the patch or damage the surrounding paper. Wipe away dust with a method suitable for the wall finish.
Inspect the area in angled light. If you can still see a shallow dip or ridge, follow the product instructions for another light coat rather than pressing harder with sandpaper. Let the final surface dry fully before priming or painting.
Blend the finish and prevent a repeat
Paint color and sheen can make a well-filled hole visible. Match the existing finish as closely as possible, test paint in an inconspicuous spot, and feather the edges only as the paint directions allow. Reinstalling a heavy item in the same spot may require a different anchor location or support.
The SEISSO kit is one option for small household drywall repairs. Check the live product page and included instructions for current compatibility and contents. For a large opening, damaged framing, recurring cracks, or signs of water, consult an appropriate repair professional before finishing the wall.
See current product details: SEISSO Drywall Repair Kit – 3×100g Paste with Patches, Scraper & Sandpaper