Damaged walls are one of the most common home maintenance issues. Whether it's nail holes from hanging pictures, cracks caused by settling, accidental dents, or unsightly wall stains, wall imperfections can make an otherwise beautiful room look neglected.
Fortunately, modern drywall repair kits make it easier than ever to restore walls without hiring a professional contractor. With the right tools and techniques, homeowners, renters, landlords, and DIY enthusiasts can repair wall damage quickly and achieve professional-looking results.
Common Types of Wall Damage
Before choosing a repair solution, it's important to identify the type of damage you're dealing with.
Nail Holes and Pin Holes
Small holes left behind by nails, screws, and wall anchors are among the easiest repairs. These imperfections often occur when redecorating, moving furniture, or removing wall-mounted items.
Surface Cracks
Minor cracks may develop due to normal house settling, temperature changes, or drywall movement. If left untreated, these cracks can become more noticeable over time.
Dents and Scratches
Accidental impacts from furniture, doors, or daily activities can create dents, scratches, and gouges in drywall surfaces.
Larger Holes
Doorknob impacts, accidental damage, or removed fixtures can leave larger holes that require both repair patches and filler compound.
Graffiti and Stains
Marks, stains, and graffiti can often be concealed and repaired using quality wall repair compounds.
Why Use a Drywall Repair Kit?
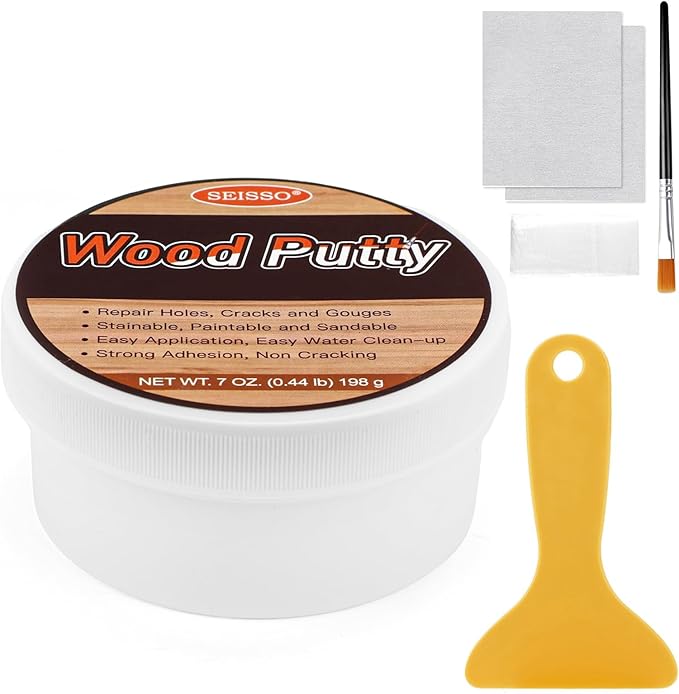
A complete drywall repair kit provides everything needed for efficient repairs. Instead of purchasing multiple tools separately, an all-in-one solution helps simplify the process.
A quality wall repair kit typically includes:
-
Wall repair paste
-
Repair patches
-
Scraper tools
-
Sandpaper
-
Precision applicators
This combination allows users to repair everything from tiny nail holes to larger wall imperfections.
Step-by-Step Guide to Repairing Drywall
Step 1: Clean the Damaged Area
Remove dust, loose paint, and debris around the damaged section. A clean surface improves adhesion and creates a stronger repair.
Step 2: Apply a Wall Patch (For Larger Holes)
If repairing a larger hole or crack, apply a drywall repair patch over the damaged area. Press firmly to ensure proper adhesion.
Step 3: Apply Wall Repair Paste
Using the included applicator or scraper, spread the repair paste evenly across the damaged area. Fill holes completely while smoothing the surface.
Step 4: Allow the Repair to Dry
Fast-drying repair compounds can often dry within a few hours depending on room temperature and ventilation. Many modern wall repair products are designed to dry quickly while maintaining strong adhesion and durability.
Step 5: Sand for a Smooth Finish
Once fully dry, lightly sand the repaired area until it blends seamlessly with the surrounding wall.
Step 6: Paint if Necessary
For perfect color matching, apply touch-up paint after the repair has cured.
Benefits of Using Fast-Drying Wall Repair Paste
Modern wall repair compounds offer significant advantages over traditional repair methods:
Saves Time
Quick-dry formulas reduce waiting periods and allow repairs to be completed in a single day.
Strong Adhesion
High-quality wall fillers bond securely to drywall surfaces, creating durable repairs that resist cracking and peeling.
Smooth Finish
Premium repair compounds create a clean, professional appearance that blends naturally into existing walls.
Water Resistance
Many advanced wall repair formulas provide improved resistance against moisture and daily wear.
Ideal Applications for Wall Repair Kits
A drywall repair kit is useful for:
-
Homeowners maintaining interior walls
-
Renters preparing for move-out inspections
-
Landlords between tenants
-
Property managers
-
Real estate staging projects
-
DIY home improvement enthusiasts
Whether repairing a single nail hole or restoring multiple damaged areas, a complete repair kit can significantly reduce maintenance costs.
Tips for Professional-Looking Results
To achieve the best repair outcome:
-
Apply thin layers rather than one thick layer.
-
Allow adequate drying time.
-
Sand gently for a seamless transition.
-
Use repair patches for larger holes.
-
Keep extra repair paste available for future touch-ups.
Final Thoughts
Wall damage doesn't have to lead to expensive repairs or professional service calls. With a high-quality drywall repair kit, homeowners can quickly fix holes, cracks, dents, peeling surfaces, and wall imperfections with confidence.
An all-in-one solution featuring wall repair paste, repair patches, sanding tools, and applicators makes drywall restoration simple, affordable, and beginner-friendly. Whether you're preparing a property for sale, maintaining a rental unit, or simply refreshing your living space, investing in a reliable drywall repair kit is one of the easiest ways to keep your walls looking flawless year-round.