
If a drywall patch shows through paint, check whether you’re seeing a raised edge, a texture change, or uneven sheen. Each leaves a different clue in side light.
Look at the patch from two directions
Let the finish dry according to the paint label. Look straight at the wall in normal room light, then turn a flashlight so its beam skims across the surface. Repeat from the other side. A ridge casts a narrow shadow that changes sides with the light. A flat spot that looks dull or glossy mainly from one angle points toward a sheen difference.
Look for changes you can see from where you normally stand. Photograph the patch once head-on and once from the side so you can compare both views after any correction.
Find out whether the repair sits proud or low
Set a clean straightedge lightly across the dried area. If it rocks over the middle, the repair may be raised. If you see a gap beneath it at the center, the fill may be low. Check in a second direction because drywall can already have a slight curve near seams and corners.
On a sound wall where the materials can be safely sanded, smooth a shallow high spot only as far as needed to taper its edge. For a shallow depression, apply a thin layer of compatible filler and taper it onto the adjoining wall. Check for a flat transition again after the filler dries.
Before sanding paint in a U.S. home built before 1978, check whether lead-based paint is present and follow the EPA’s lead-safe renovation guidance.
Use the tools that fit the defect
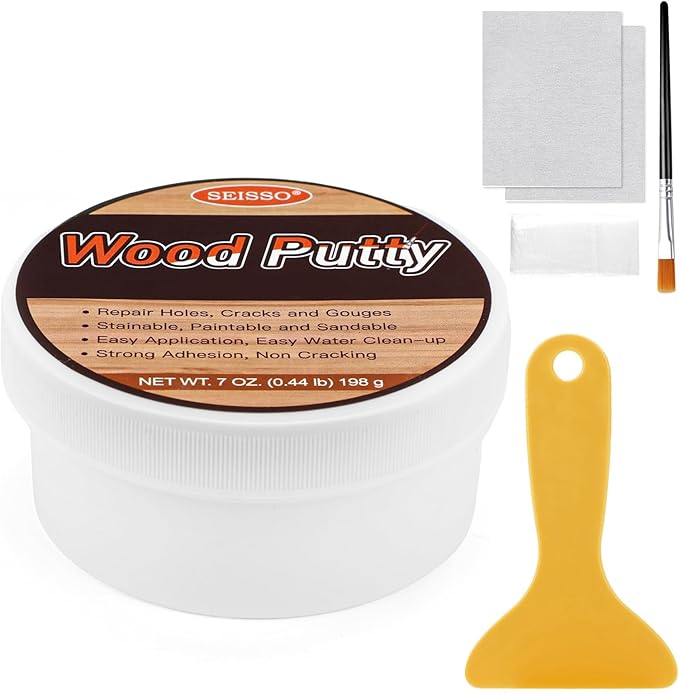
The SEISSO drywall repair kit has two 250 g tubes of white wall repair paste, a scraper, sanding sponges, repair tape and patches. On a stable, shallow depression, the paste and scraper can help bring the surface level. Follow the supplied instructions for the surface and let the material dry as directed before finishing it.
If a taped seam has opened or an old patch is loose, determine what moved before adding material. Paint and filler can conceal a cosmetic defect once the surface is sound. Bubbling, a damp patch or a crack that keeps opening calls for checking the underlying cause first.
Compare the roller texture around the patch
Look across the repair and the original paint at close range. A smooth fill on a wall with visible roller stipple can stand out even with the same paint. A brush can also leave marks that look different from the surrounding roller finish.
When the wall is ready to recoat, use an applicator that suits the existing surface and the paint label. Try the combination on a small test area and let it dry. Check that the texture and sheen blend in the room’s usual daylight before covering a larger section.
Address paint flashing on a level patch
Flashing is a difference in gloss or sheen. A porous patch, uneven coverage, or overlapping paint as one edge dries can contribute. If the repair is level and bare filler is still exposed after preparation, use a compatible primer or sealer as the paint system directs.
If the sheen still varies over a prepared and painted wall, check the finish label for recoating guidance. On a wall that catches strong window light, an even coat across the whole wall from corner to corner can reduce visible touch-up boundaries.
Confirm the paint before making another pass
Check the original can for color, finish and product line. When you have leftover paint, compare a small dried sample with the wall. An older finish can look different after years of daylight or cleaning, even when you use the same color name.
Check once in normal light and again in side light after the final coat has dried. If only the color still stands out, revisit the paint match and finish before adding more filler.
Frequently Asked Questions
Why does my drywall patch look different only in the afternoon?
Low-angle light can pick up a ridge or highlight a sheen difference. Compare it from two angles and check whether a shadow moves when you change the direction of the light.
Will another coat cover a raised drywall patch?
Paint follows the contour underneath. Check and correct a visible height difference before repainting.
Why does the same wall paint look shinier over my repair?
Surface porosity, roller texture and differences in how thickly paint was applied can all affect how light reflects. Check that the repaired surface is level and ready for the specified coating system.
How can I tell when the spot is ready for paint?
The repair should be dry according to the filler instructions, flat across its edges, clean and prepared according to the primer and paint labels.