
If the grid of a drywall patch remains visible after the first coat, inspect it once the filler has dried. Check the patch position and the surrounding surface before adding more material.
Wait until the coat is ready to inspect
Read the filler instructions and give the repair the drying time its conditions require. A damp coating can look different from its dry result and can move when you touch it. Check the area in ordinary room light and with a light held across the wall after it is ready.
Look at what remains visible. You may see a faint color pattern beneath a smooth surface, actual grid texture at the surface, or a raised outline around the patch. Those observations point to different next steps, so identify the one you have before adding another coat.
Check that the patch is seated on sound wall
Inspect the outside edges for lifted corners, bubbles or movement. Follow the patch instructions for how it should overlap sound material around the hole. Loose paint, damaged paper or a patch that shifts under light inspection can make the finish difficult to level.
If the patch has not attached correctly, follow its removal or replacement guidance before proceeding. Check the cause of any damp or unstable drywall first. A reinforcement patch needs the support and surface preparation described for that product.
Confirm the materials belong in the repair
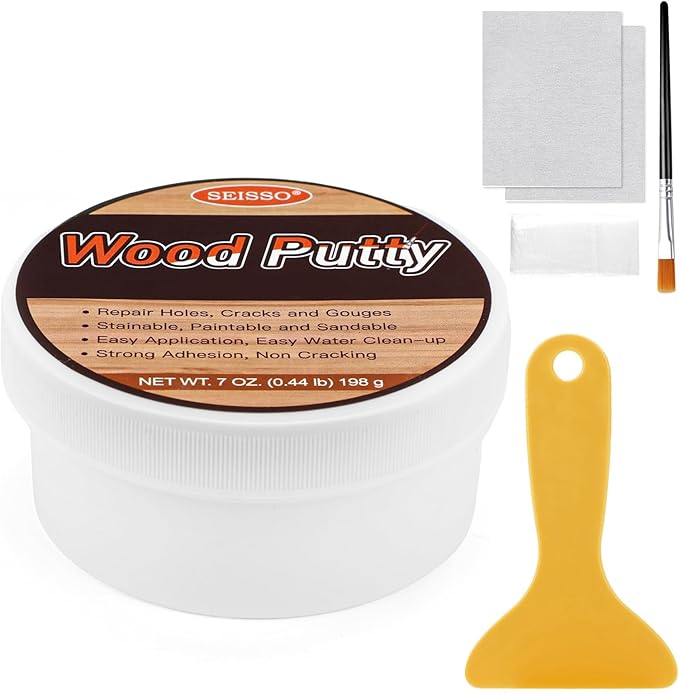
The SEISSO kit shown here contains white repair paste, putty, repair tape, patches and application tools. Use the included instructions to choose the material and patch suitable for the damage. Keep track of which material you used for the first coat.
A gap, damaged corner and taped seam may need different approaches. If the damage is larger than the kit’s stated application or a crack keeps opening, ask a qualified repairer about the appropriate repair before using more paste.
Separate a visible color from exposed texture
Look closely across the dry area. A faint darker grid visible through a smooth layer can differ from mesh ridges you can feel or see casting tiny shadows. Follow the repair system’s directions for how fully the mesh needs to be covered before finishing.
If the texture remains exposed, plan the next application as directed. Use a clean scraper and work a small amount of the compatible material across the area. Keep the surrounding wall in view so you can judge how the new coat meets it.
Spread the transition beyond the patch edge
A patch adds material on top of the wall, so the transition needs attention as well as the center. Follow the kit’s directions for extending and tapering the coating onto the surrounding surface. A gradual transition is easier to assess than a thick perimeter.
Let each application dry as directed before adding or finishing another. Do not set a fixed number of coats from another repair. Patch thickness, the hole and the surrounding finish affect how the area comes together.
Finish without uncovering the reinforcement
Use the sanding method described for the repair materials once they are ready. Focus on smoothing ridges and the outer transition. Check frequently so you can stop before sanding through the coating and exposing the mesh again.
Remove dust using the method suitable for the repair and wall finish. If mesh becomes exposed during finishing, consult the instructions for correcting the coating before priming. Repeatedly sanding the same spot can create a low area that needs another assessment.
Inspect the whole area before the coating stage
Look straight at the repair, then from both sides. Check the center and edges with a straightedge where suitable. A visible ridge, dip or loose corner should be resolved before moving to primer and paint.
Follow the primer and paint instructions for the prepared repair. Keep a record of the products used if you need advice. Photos before and after the dry coat can help the seller or a repairer understand whether the issue is patch seating, material coverage or the surface transition.
Frequently Asked Questions
Can I paint while the mesh grid is still exposed?
Complete the repair system’s required coating and finishing steps first. Primer and paint should go onto a surface prepared for those products.
What if I can see the grid but the surface feels smooth?
Check it in side light and consult the patch and filler instructions. A visible color beneath a layer may differ from exposed mesh texture.
Should I sand the patch edge flat with the wall?
Follow the system’s finishing directions and preserve the required coverage over the reinforcement. Use the coating transition to address the added patch thickness.
Why does one corner keep lifting?
Check the attachment and the condition of the supporting wall. Follow the manufacturer’s correction guidance before covering the loose area.