Restoring wood furniture isn’t just about fixing damage—it’s about getting the color right. Even a perfectly filled scratch can stand out if the color doesn’t match.
If you’ve ever tried a repair and thought, “Why does this look worse?”—color matching is usually the reason.
This guide will walk you through how to match wood colors accurately, even if you’re a beginner.
1. Why Color Matching Matters in Wood Repair
Wood surfaces are rarely a single flat color. Most furniture features:
- Natural grain variations
- Multiple undertones
- Aging or fading over time
That’s why using just one color often leads to obvious patches.
👉 The secret? Blending multiple shades.
2. Understanding Common Wood Tones
Before repairing, identify the dominant tone of your furniture:
- Light Woods: Maple, Pine → pale yellow or cream
- Medium Woods: Oak, Teak → warm golden or brown
- Dark Woods: Walnut, Mahogany → deep brown or reddish
Look closely under natural light—artificial lighting can distort color.
3. The 3-Step Method for Perfect Color Matching
1). Start Lighter Than You Think
- Always begin with a lighter shade. You can gradually darken, but it’s hard to fix a color that’s too dark.
2). Mix, Don’t Match
- Instead of searching for the “perfect” color, combine 2–3 shades to recreate the tone.
3). Layer for Realism
Apply in thin layers:
- Base color (fills the scratch)
- Secondary tone (adds depth)
- Optional grain detail (for realism)
This mimics how natural wood actually looks.
4. Pro Techniques Most People Don’t Know
✔ Use contrast sparingly
- Tiny amounts of darker color can recreate wood grain lines.
✔ Test before applying
- Always test on a hidden area or scrap surface.
✔ Blend edges immediately
- Hard edges make repairs obvious—soft blending makes them invisible.
5. Common Color Matching Mistakes
- ❌ Using one color only
- ❌ Ignoring wood undertones
- ❌ Skipping layering
- ❌ Not testing first
These are the main reasons DIY repairs fail.
6. When You Need Multiple Colors (Not Just One)
If your furniture has:
- Visible grain patterns
- Aged or faded areas
- Mixed tones
Then a multi-color repair kit becomes essential.
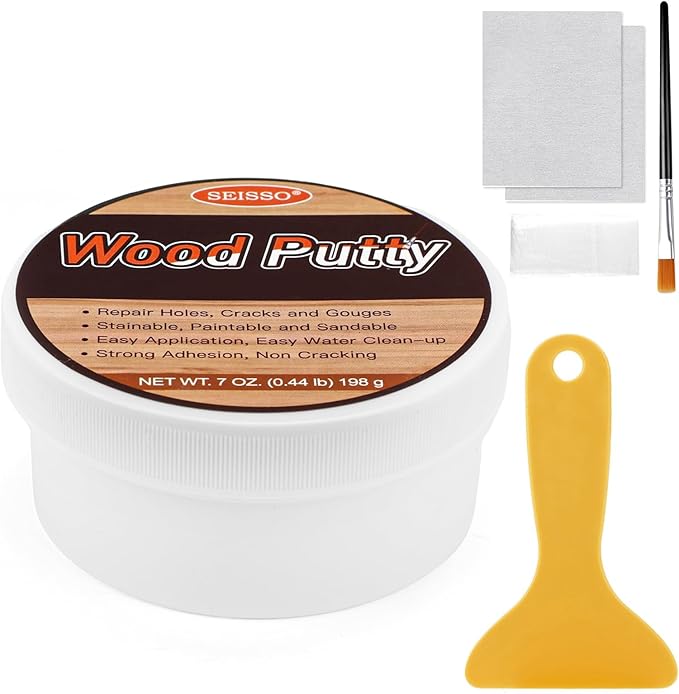
This is where products like the SEISSO 12 Colors Wood Furniture Repair Kit come in handy. Instead of forcing a single shade, you can:
- Blend tones naturally
- Adjust color depth easily
- Match both light and dark furniture
It’s especially useful for homeowners dealing with different types of wood across floors, cabinets, and tables.
7. Bonus: How to Match Color on Old vs New Furniture
For New Furniture:
- Colors are more uniform
- Use fewer layers
- Focus on clean blending
For Old Furniture:
- Expect fading and discoloration
- Use more layering
- Add slight variation for realism
The difference between an obvious repair and an invisible one often comes down to color technique—not tools.
Once you understand how to:
- Layer colors
- Blend tones
- Work with wood undertones
You can restore furniture to a near-original finish—even as a beginner.