
A level, color-matched filler patch can still show when it breaks the surrounding grain. Learn how to carry a few existing lines across the patch and check the result in daylight.
Make sure the patch is ready for a marker
A filled scratch is ready for this step when the filler has dried as directed, lies level with the surrounding finish and already matches the main wood color reasonably well. Look across the surface in side light. If a ridge still casts a shadow or a dip shows under a straightedge, correct that first.
A dark line can make a raised patch look more obvious. Put the marker down if you still see a height difference. Keep the repair small, especially on veneer, where the finished layer may be thin.
Follow the lines already in the furniture
Look at both ends of the filled area. Find a grain line that reaches one side and appears again on the other. Notice whether it runs straight, bends gently or tapers into the lighter material. Start with that one line.
For a scratch that runs across the grain, continue two or three of the clearest lines through the affected area as needed. If the scratch runs alongside the grain, one narrow line may be enough. Leave some of the base color showing between lines so the patch does not turn into a solid stripe.
Practice on a sample of the cured filler
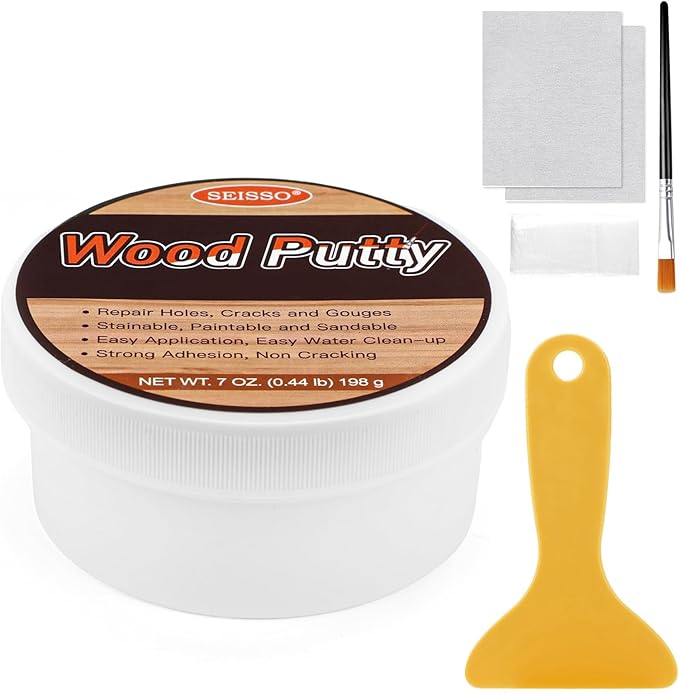
The SEISSO 28-piece kit includes 12 colors of filler and 12 furniture marker colors, plus brushes, a scraper and a palette. If you have filler left over, let a thin sample dry as directed on a disposable work surface. Try the marker on that sample to see how the tip behaves and how dark the stroke looks when dry.
A marker can look different on cured filler and on the original finish. Compare the dry sample beside the furniture in the room where the piece normally sits. Pick a shade that resembles the quieter grain around the repair, especially if the strongest nearby streak is almost black.
Start with the thinnest line you can control
Rest your hand on a clean part of the work surface and use light pressure. Follow the grain’s direction across the filler with a short stroke. Lift the tip as you approach the edge so the line narrows rather than ending in a dot.
Let the first stroke dry according to the instructions before deciding whether to add a second. Keep the line within the patch where possible. If you are unsure how the marker affects the original finish, test it in a discreet compatible spot before bringing it across the join.
Check the repair from normal viewing distance
Step back to where you usually see the desk, dresser or cabinet. A small interruption can disappear once one or two fine lines carry your eye past it. Check in room light as well as daylight before adding more marks.
If the color looks right but the patch still appears brighter or duller as you move, compare the sheen from different angles. Additional ink changes the color and density of the grain marks. Check which surface finish is suitable before adding a coating.
Keep a record of the shade and stroke
Save the marker shade and a photo of the dried sample if you have several similar scratches to repair. On the next spot, confirm the grain direction again. Lines on a drawer face may run differently from lines on the top panel.
For a wide repair with complex grain, practice on a sample first. Seek a furniture repairer for unstable veneer or a repair on a valuable piece where a permanent marker line could be hard to reverse.
Frequently Asked Questions
Can I draw grain onto filler as soon as it feels dry?
Follow the filler directions for drying before using the marker. Test on a fully dried sample first if you can.
Will a marker add real texture to the wood?
The marker adds color to imitate the visible grain. Use the level-filling step to handle a depth difference.
Should I draw closely spaced lines along the entire scratch?
Start with the lines already entering the patch. Leave spaces between them and check the repair from normal viewing distance before adding more.
What if the patch looks darker after I draw one line?
Let the mark dry and compare it in the room’s normal light. Try a lighter shade and lighter pressure on a sample before marking the patch again.