
Check the door’s swing, determine whether the wall has a shallow dent or an opening, and choose a patch method that suits the damage.
Check where the handle touches before working on the wall
Open the door slowly and observe where the handle would meet the wall. Stop the swing before it reaches the damaged surface. A mark may be at the height of the knob, lever tip, lock button, or another protruding part. Compare the center of the mark with the actual contact point so you know which movement the repair needs to accommodate.
Look at the doorstop if there is one. Check whether it reaches the door early enough to leave the handle clear and whether its base stays secure during ordinary use. Limit the swing while working so the handle cannot strike the damaged area again. Decide how the door will be stopped before applying a surface repair.
Separate a surface dent from an opening
Look at the area in good light and gently assess the surface around it. A shallow depression with a firm surrounding face calls for a different method from an opening with loose or crumbling edges. Inspect the paint and paper around the mark and note whether there is a larger area of movement. Take a photo that shows the scale and surrounding wall.
Confirm that the wall is drywall and that the affected area is dry and stable. Ask for an assessment if the wall feels soft, the opening extends beyond the surface patch method, or you are unsure about anything behind it. Leave an area near electrical fixtures or unknown concealed components for someone who can identify the construction and appropriate repair.
Choose the repair from the kit instructions
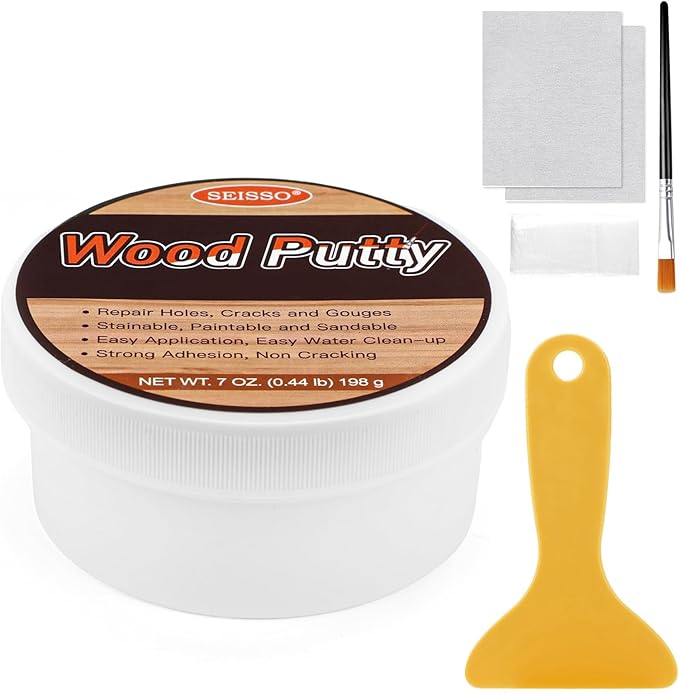
The current SEISSO drywall kit listing names two 250 gram tubs of white wall putty, repair tape, and patches. Check the supplied instructions for permitted surfaces, patch sizes, and the order of application. For a shallow dent, use the method listed for a supported depression. For an opening, use the specified patch only if it fits the damage and the surrounding wall can support it.
Measure the damaged area across its widest points and compare it with the repair material’s instructions. The repair needs enough sound surrounding wall for the specified application. If the opening is larger than the kit supports or the wall moves when handled, have the area assessed before deciding how to close it.
Prepare only the area the method calls for
Set out the tools you need and protect the floor and nearby trim according to the product directions. Remove loose surface debris in the way the instructions specify, keeping the intact paper and paint around the repair in place. Examine the area again after preparation. If more material loosens than you expected, reassess the repair size before proceeding.
Keep the repair product label and directions available. Follow the guidance for ventilation, protective equipment, and cleanup, including any precautions for the existing painted surface. Ask for advice if you cannot identify an old coating. Keep the door supported in a position that leaves the work area clear until the patch is ready.
Apply the patch or filler in the specified sequence
For a compatible supported dent, apply the putty using the method and layer thickness in the instructions. Work within the prepared area and check the surface from the side before leaving it to dry. If the kit calls for a patch over the opening, position it according to the directions and apply the specified covering layers in sequence.
Follow the stated drying conditions between applications. A door-handle mark is often at eye level from the other side of a room, where an abrupt edge can be easy to see. Inspect the transition to the surrounding wall once each layer reaches the condition described in the instructions. Use the approved finishing steps to bring the surface to the intended level.
Check the dry repair before matching the wall finish
Look across the dry repair under ordinary room light. Check for a ridge, a low center, or loose edges. Follow the product directions for any further filling or smoothing. If the patch moves or an opening reappears, ask about the support and the suitability of the method before adding material.
Use a finish compatible with the repair product and the existing wall. Check the paint and primer instructions for preparation and drying. For a textured or unusual finish, test a matching technique in a discreet area if possible. Wait for the coating to reach its stated condition before exposing it to regular door movement.
Keep the handle clear of the finished patch
Check which doorstop type suits the door and mounting surface. Use the stop manufacturer’s instructions and confirm that it can halt the swing while the handle still has clearance. Choose a location with the needed support and follow the appropriate mounting method. Ask a qualified installer if the surface or hidden construction is unclear.
Guide the door slowly toward the stop and watch the handle from the side. Check the clearance at the point where the stop actually engages, including any movement in the stop itself. Repeat the check with ordinary operation after the repair and finish have reached their stated return-to-use condition.
Watch the contact point during the first few days
After the door returns to normal use, check the stop and the finished wall periodically. A new mark at the same height or a stop that shifts can indicate that the handle still reaches the area. Note when you see the mark and watch one slow door movement so you can identify the cause before choosing another repair.
Keep the product instructions and any finish information for future touch-ups. Review the current SEISSO kit listing for the materials supplied, then use the included directions to confirm whether they suit your particular dent or opening. If the damage is stable and the handle stays clear, the area can remain part of your normal wall care routine.
Frequently Asked Questions
Can I use wall putty on a shallow door-handle dent?
Check that the surrounding drywall is firm and that the putty instructions cover that kind of supported surface damage.
When does the repair need a patch?
Use the kit instructions to match an opening and its surrounding surface to the stated patch method. Have larger or unstable damage assessed.
How do I stop the handle from hitting the repaired spot?
Choose a doorstop suited to the door and surface, then test the swing slowly to confirm the handle clears the wall.
When can I paint the repair?
Follow the repair product and paint instructions for drying and surface preparation. Check the finished patch before painting.
Product details: SEISSO Drywall Repair Kit – 2×250g White Wall Putty with Repair Tape & Patches