Leather furniture, car seats, and accessories add a premium feel to everyday life—but once they start cracking, peeling, or tearing, they can quickly look worn and outdated.
The good news? You don’t need to replace them. With the right tools and a simple process, you can restore leather items at home—no professional skills required.
In this guide, we’ll walk you through how to repair leather and vinyl surfaces, what tools you need, and how to achieve long-lasting, professional-looking results.
1. Why Leather Gets Damaged Over Time
Leather and synthetic materials (PU, vinyl, faux leather) naturally degrade due to:
- Daily wear and friction
- Exposure to sunlight and heat
- Dryness and lack of conditioning
- Accidental scratches, tears, or burns
Common issues include:
- Cracks and peeling surfaces
Scratches and scuffs
Small holes or tears
Faded or uneven color
Instead of replacing expensive furniture or car interiors, a leather repair kit offers a cost-effective and eco-friendly solution.
2. What You Need: A Complete Leather Repair Kit
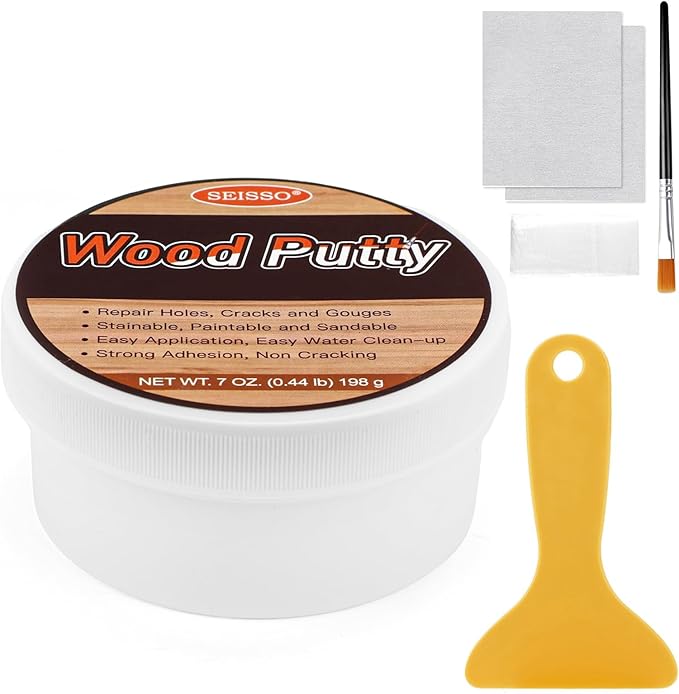
A high-quality repair kit makes all the difference. For example, the SEISSO Vinyl & Leather Repair Kit includes everything needed for DIY restoration:
- Multiple color compounds (black, white, brown)
- Color mixing options for accurate matching
- Brushes and scraper for precise application
This kind of kit is designed for furniture, car seats, sofas, jackets, bags, and more, making it a versatile household essential.
3. Step-by-Step: How to Repair Leather or Vinyl
1). Clean the Damaged Area
- Remove dust, oils, and debris using a soft cloth. A clean surface ensures better adhesion.
2). Prepare the Surface
- For cracks or peeling areas, gently smooth the surface. Trim loose edges if necessary.
3). Mix the Color
- Blend colors (black, white, brown) to match your leather. This step is key for invisible repairs.
4). Apply the Repair Compound
- Use a brush or scraper to apply the compound evenly over the damaged area.
5). Let It Dry
- Allow sufficient drying time between layers for best results.
6). Repeat if Needed
For deeper damage, apply multiple layers until the surface is smooth and restored.
- Pro Tips for Professional Results
- Apply thin layers instead of one thick coat
- Test color on a hidden area first
- Work in a well-lit environment for better color matching
- Allow proper drying time between applications
Even beginners can achieve near-professional results by following these steps carefully.
4. What Can You Repair?
A versatile leather and vinyl repair kit can be used on:
- Leather sofas and couches
- Car seats and interiors
- Office chairs
- Jackets and handbags
- Shoes, belts, and accessories
This makes it one of the most practical DIY tools for home maintenance.
5. Why DIY Leather Repair Is Worth It
Instead of replacing damaged items, repairing them offers:
- 💰 Cost savings
- ♻️ Sustainability (less waste)
- ⏱️ Quick results at home
- 🎯 Custom color matching
With modern repair kits, you don’t need professional experience to restore your items.
6. A Simple Way to Restore Your Leather Items
If you're looking for an easy, beginner-friendly solution, the SEISSO Vinyl & Leather Repair Kit for Furniture, Car Seats, Sofa, Jacket, Purse is designed to deliver reliable results.
It combines:
- Easy application
- Custom color matching
- Multi-surface compatibility
Perfect for anyone who wants to repair scratches, cracks, or peeling leather without hiring a professional.
Leather damage doesn’t have to mean replacement. With the right approach and tools, you can restore your items and extend their lifespan significantly.
Whether it’s a scratched sofa or a cracked car seat, a simple DIY repair can make it look almost new again.